Power features
Building your first workflow
A walk-through: Text Input, Image, Video. Connecting nodes and running the graph.
6 min read
In short: To build your first Flovaly workflow, create a new workflow from the sidebar, double-click the canvas to add a Text Input node, add an Image node, and drag a connection between their handles — then hit Run. Extending the chain with a Video node turns it into a full text-to-image-to-video pipeline that renders with one click.
This guide walks through building a first useful workflow — a three-node pipeline that turns a text prompt into an image, then expands it into a four-node pipeline that takes the image all the way to video. By the end you'll understand the canvas well enough to build anything else.
1. Create a new workflow
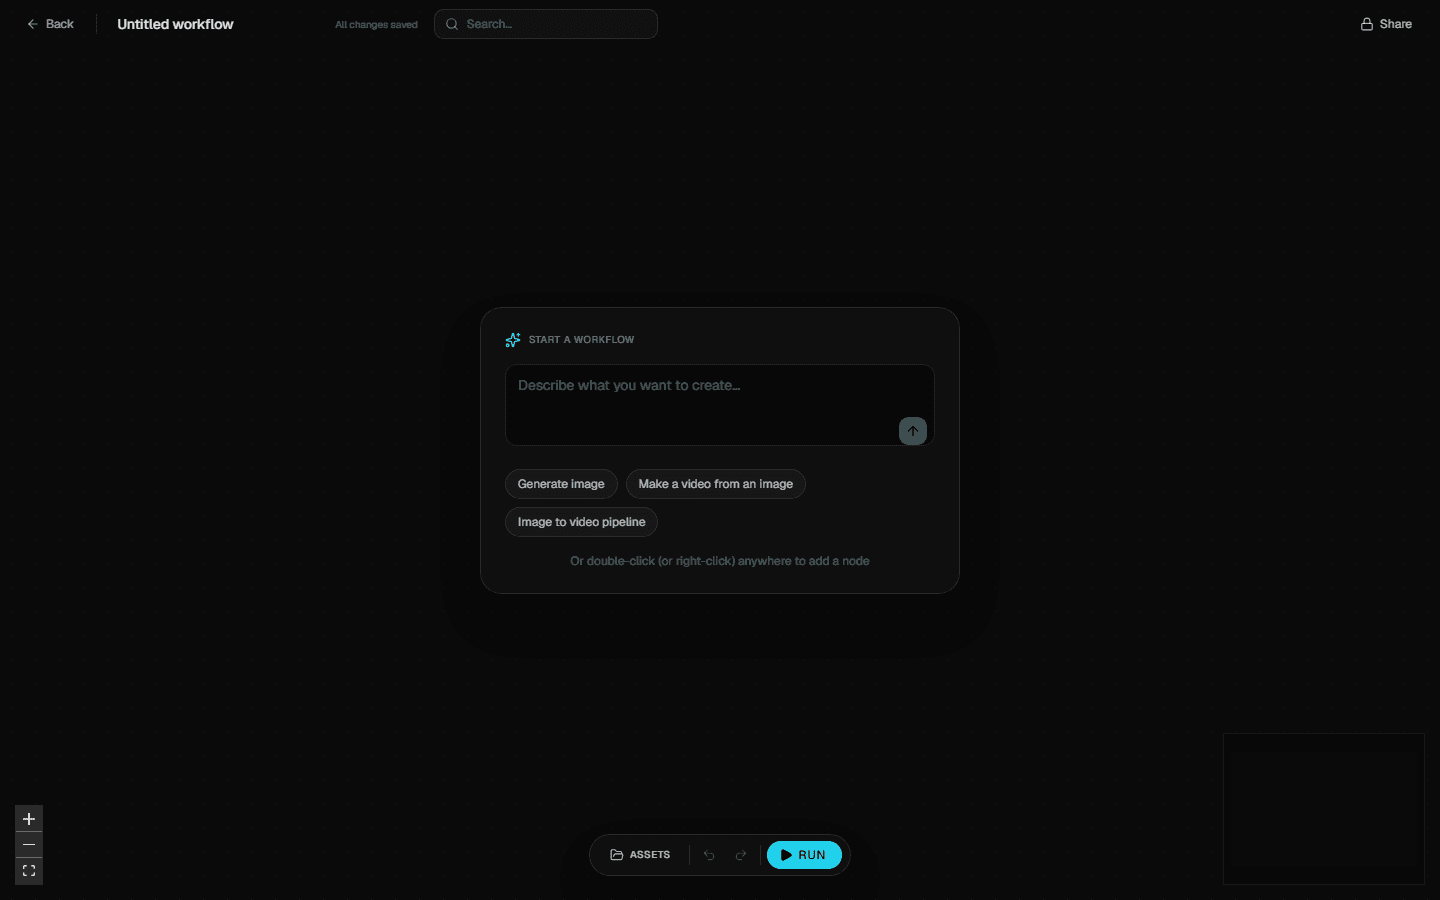
From the sidebar, open Workflows and click New workflow. The dark canvas opens with an empty grid and an inline name field at the top — rename it now (e.g. “Prompt to image”) so you can find it later.
2. Add a Text Input node
Double-click anywhere on the empty canvas. The node picker appears at your cursor. Type text into its search box, or scroll to the Inputs category, and click Text inputs. The node drops where you clicked.
Click into the node body and type a prompt — something like “A neon-lit Tokyo alley in the rain”. The text field on the node is the value that flows out of its Text output handle on the right.
3. Add an Image node
Double-click somewhere to the right of your text node. In the picker, click Image under Generation. The node lands with one input handle (Prompt) on the left and one output handle (Image) on the right.
4. Connect them
Drag from the Text Input's right-side output (blue — that's the string colour) to the Image node's left-side input. The edge snaps into place. The handle colours are how the canvas tells you the connection is type-safe — both are blue, so the connection is valid.
5. Hit Run
The action bar at the top of the canvas has a Run button. Click it. Each node lights up as it executes; the Image node shows a thumbnail of its output the moment it finishes. Your output also lands in the gallery, tagged with this workflow run.
Expanding to a Text → Image → Video pipeline
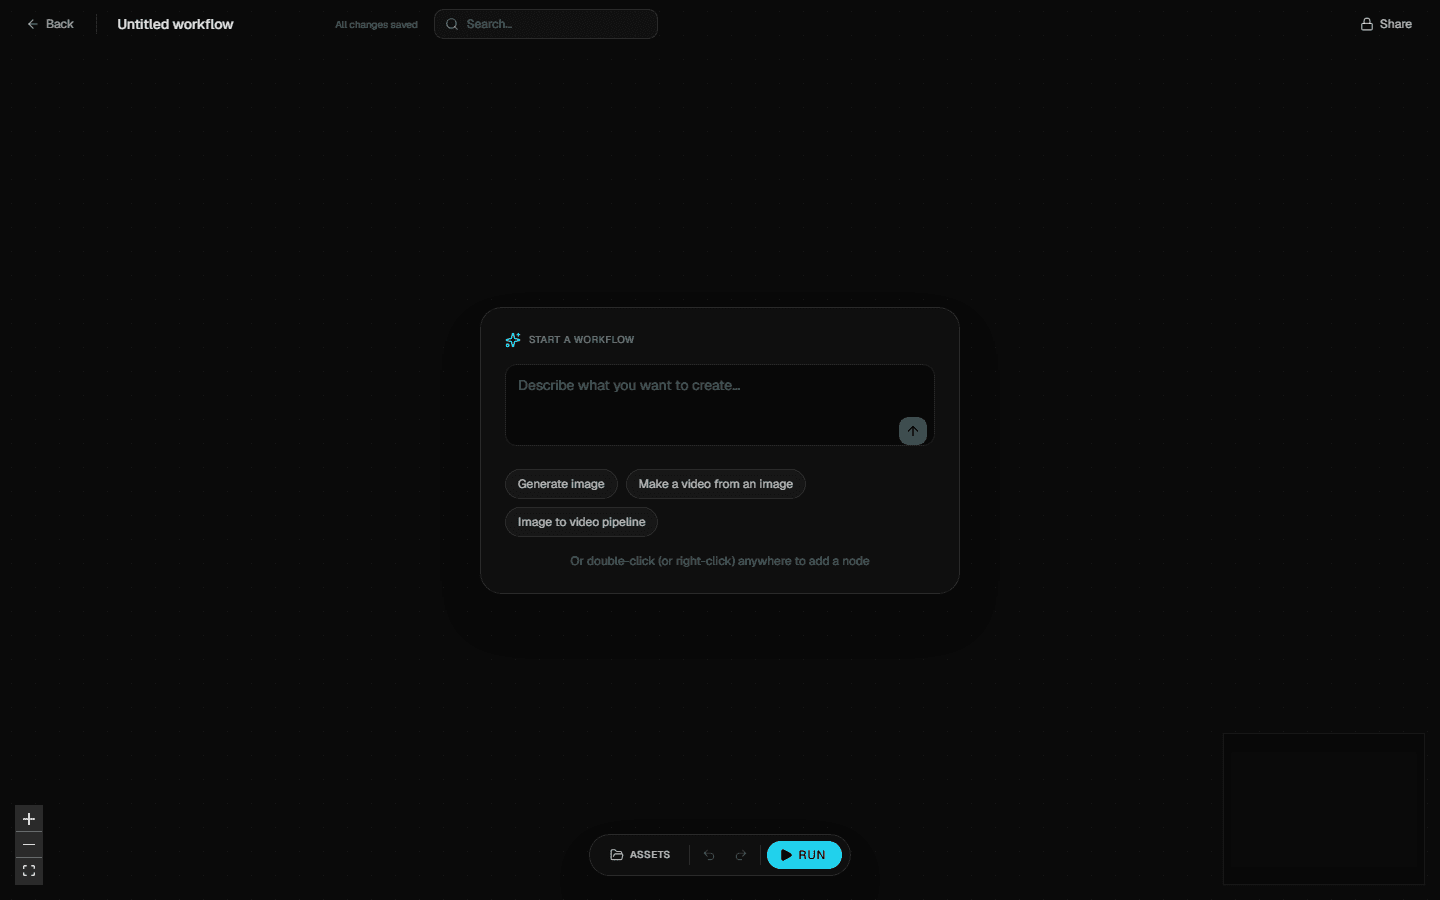
Now stretch the graph. Double-click further to the right and add a Videonode from the picker. Drag from the Image node's output to the Video node's input — the connection lights up pink (image-to-video flows through the image data type into a node that consumes it).
Hit Run again. The Text Input's value pipes into the Image node, which renders a still, which feeds into the Video node, which animates it. Three steps, one click.
Useful patterns from here
- Enhance Prompt — drop between a Text Input and a generation node to have the model polish a rough prompt before rendering. Cheap and consistently lifts quality.
- Talking Actor — takes a character input (image) and a script input (text). Wire an Upload node into its character socket and a Text Input into its script socket.
- Multiple downstreams — one Image node can feed two Video nodes with different durations or models. The canvas branches happily.
Keyboard and canvas tricks
- Right-clickopens the node picker too — useful when you've zoomed in and double-click feels awkward.
- Delete removes the selected node or edge.
- Pan with click-drag on empty space; zoom with the scroll wheel or the bottom controls.
What next
Workflows save continuously — the saved-at timestamp at the top tells you when. To organise the outputs your workflows produce, head to Organising work into projects. To see every clip you've ever made, jump to The gallery and downloads.
Frequently asked questions
How do I connect two nodes on the workflow canvas?
Drag from an output handle on the right of one node to an input handle on the left of another. Handles are colour-coded by data type — strings blue, images purple, videos pink, audio green — and the canvas refuses incompatible connections.
Does my workflow save automatically?
Yes. The graph autosaves continuously — the saved-at indicator next to the workflow title shows the last sync, so there is no save button to remember.
Can one node feed multiple downstream nodes?
Yes. The canvas branches happily — one Image node can feed two Video nodes with different durations or models, which is the standard pattern for fanning a single source into several variants.
What does the Enhance Prompt node do?
Dropped between a Text Input and a generation node, it has the model polish a rough prompt before rendering. It is cheap and consistently lifts output quality.
Was this useful? Email us if anything's missing.
Next